How it all started#
I’ve been a Linux user for quite some time now, and it’s impossible to be a Linux die-hard without encountering ThinkPads. My journey with ThinkPads began several years ago when I got my first one, a ThinkPad T480.
My ThinkPad T480#
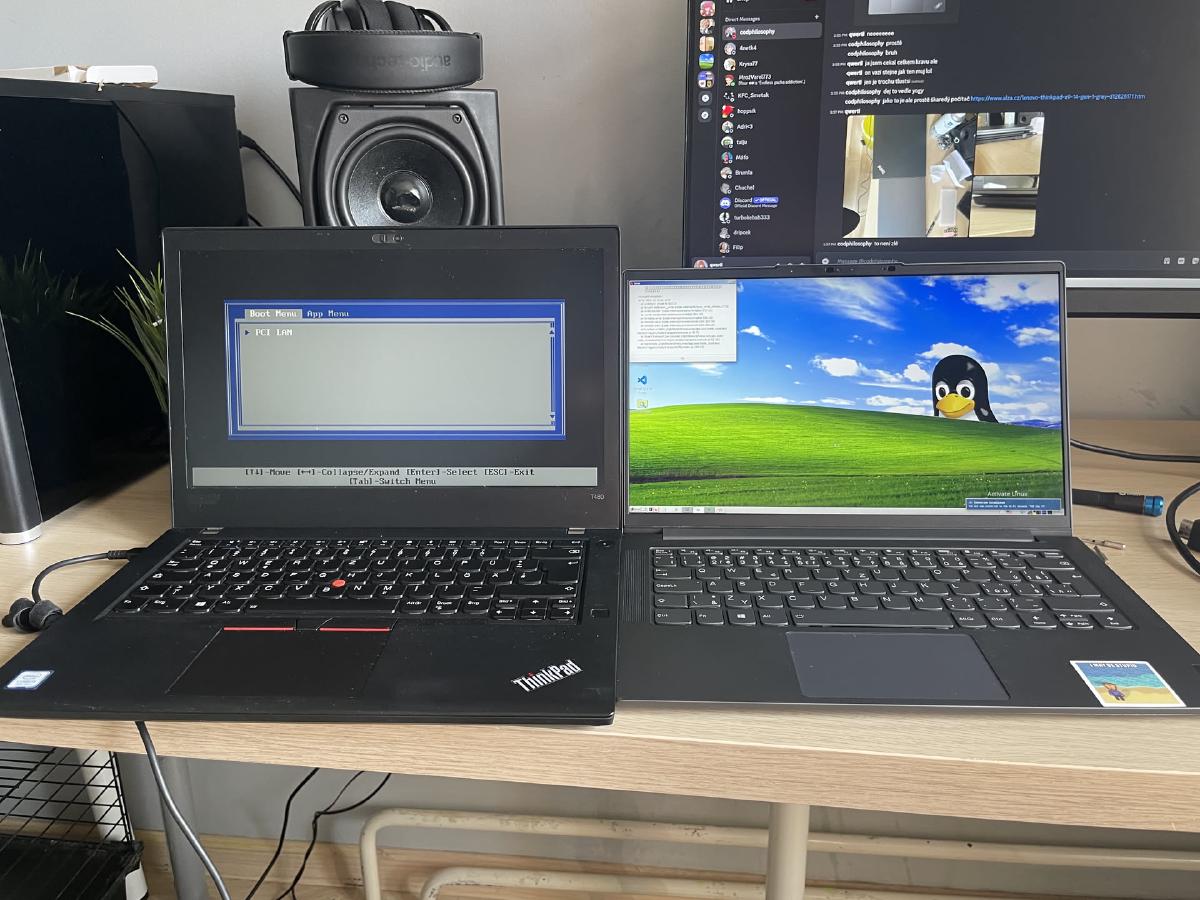
This is where my ThinkPad adventure began. The T480 is an excellent laptop, in fact, I’m writing this part on it right now!
It’s built like a tank, but not a big tank, a relatively slim, portable tank (compared to the T420). And it has a fantastic keyboard, as all older ThinkPads do.
New Keyboard Installation#
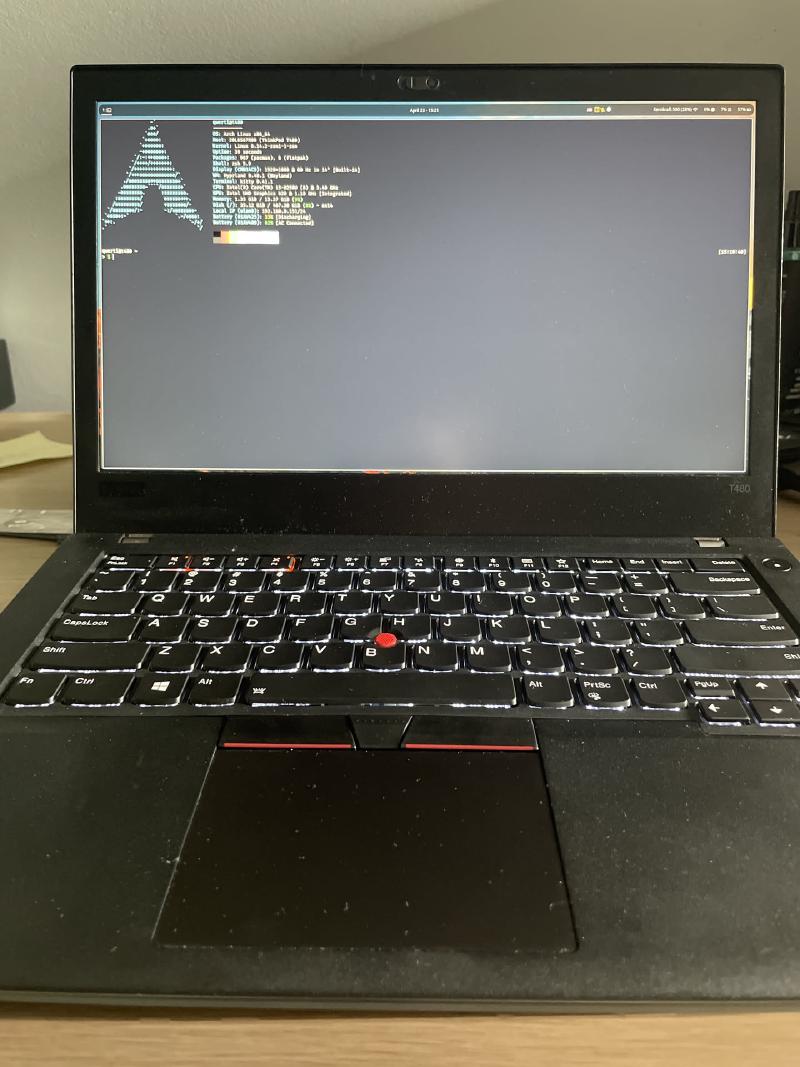
The keyboard it came with was already really nice, but the only problem it had was that it had a German layout, and I didn’t like that CTRL was named STRG. So I ordered a new keyboard with the US layout from AliExpress and installed it. I was fairly surprised how easy it was. It took me like 10 minutes, you just remove a few screws on the bottom, and then u just push the keyboard out from the top with your fingers.
You can watch this video tutorial I followed
My ThinkPad Refurbishing Project#
Over the summer of 2025, I decided to take on a refurbishing project rescuing old ThinkPads. I manager to fix and refurbish 3 different ThinkPads, and then I gave up, because i got scammed by a guy on Facebook Marketplace while trying to buy a ThinkPad X270.
ThinkPad T420#
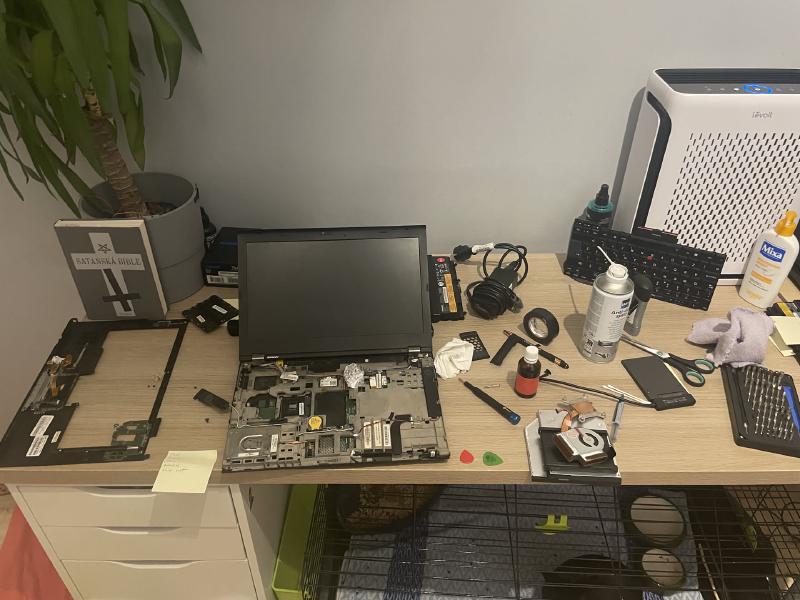
This was the first ThinkPad I had to refurbish. It wasn’t in too bad of shape, it just needed repasting, new RAM and an SSD. But boy oh boy was the teardown process a nightmare. The T420 is infamous for being hard to disassemble, and I can confirm that it is indeed a pain.
Thinkpad X270#
This one I bought from a listing saying that it’s not working. When I got it, It did turn on, but when i moved it around, it turned off randomly.
The problem that fixed it was isolating the motherboard from the metal chassis with some electrical tape. That fixed it for a bit, but then it started happening again.
To this day I’m still not sure what the actual problem was, but I think it was either a short circuit on the motherboard, or a bad battery connection.
I’m sorry to my classmate who I sold it to, I hope he can find a way to fix it.
Thinkpad X230: My Final ThinkPad#
This is my latest ThinkPad project, It hasn’t arrived yet, but I’m really excited about it. I got it for 2000 CZK (80 €), which is a steal for a ThinkPad X230 in good condition. It comes with an i5-3320M, 16GB of RAM and a 512GB SSD. It also has a usb-c power delivery mod, which is a nice bonus.
What I’m going to do to it#
I’m planning to do a full refurbish on it, including repasting, cleaning, and replacing the plastic parts with ones from a X220.
I’m also going to replace the keyboard with the one from a X220, because the X230 keyboard is not as good as the X220 one (you know I had to). Also I had to replace the palmrest, because I would have to file down the keyboard to fit in, and also it wouldn’t have been a perfect fit, there would be a gap at the top.
The palmrest Also had a fingerprint scanner built in, so count that as an upgrade.
How to do what I’m doing#
If you want to also do this with your ThinkPad X230, I’m gonna provide you with some materials I gathered while planning this project, as well as some useful YouTube videos.
Parts needed#
- ThinkPad X220 keyboard
- ThinkPad X220 palmrest
- USB-C Power Delivery mod
- BIOS version under 2.70 (to support the mod)
Keyboard mod required steps#
You should probably watch the youtube video instead of just following these steps, these are just so you have a general idea of what to do.
- Remove the old keyboard from the X230 by removing the screws on the bottom and pushing it out from the top.
- Remove the X230 palmrest by removing two screws on the bottom and disconnecting the touchpad cable.
- Tape off components on the X220 keyboard that could potentially short circuit with the X230 motherboard.
- Put in the X220 palmrest into the X230 chassis, it should fit without any problems.
- Connect the touchpad cable from the X230 to the X220 palmrest.
- Connect the fingerprint scanner cable from the X230 to the X220 keyboard.
- Put in the X220 keyboard into the X230 chassis, it should fit without any problems.
ThinkPad X230 keyboard and palmrest swap guide
ThinkPad X230 USB-C mod